If you are staring at your puppy’s tiny talons thinking, “I do not want our sweet relationship to end over nail clippers,” you are not alone. Nail trims are one of the fastest ways a confident puppy turns into a wiggly octopus.
The good news is you do not have to “get it over with.” You can teach nail trims the same way you teach sit: in small, upbeat steps that make sense to your puppy. Below is my foster-home method for getting puppies comfortable with paw handling, tools, and the actual snip without fear, wrestling, or surprise bleeding.
Before you clip: what you are trying to prevent
Most nail-trim drama comes from one of three things: restraint, scary sensations, or pain. Your job is to make the whole routine predictable and safe.
- Restraint panic: Puppies often hate being held still more than the clipping itself. We will teach “paws can be held and released.”
- Tool fear: Clippers and grinders make weird sounds and pressure feelings. We will make tools equal treats.
- Quick nicks: Cutting into the quick hurts and can create lasting fear. We will use tiny trims and better angles.
Pick the right tools
You do not need a fancy grooming station. You do need the basics so you are not improvising with a squirmy puppy.
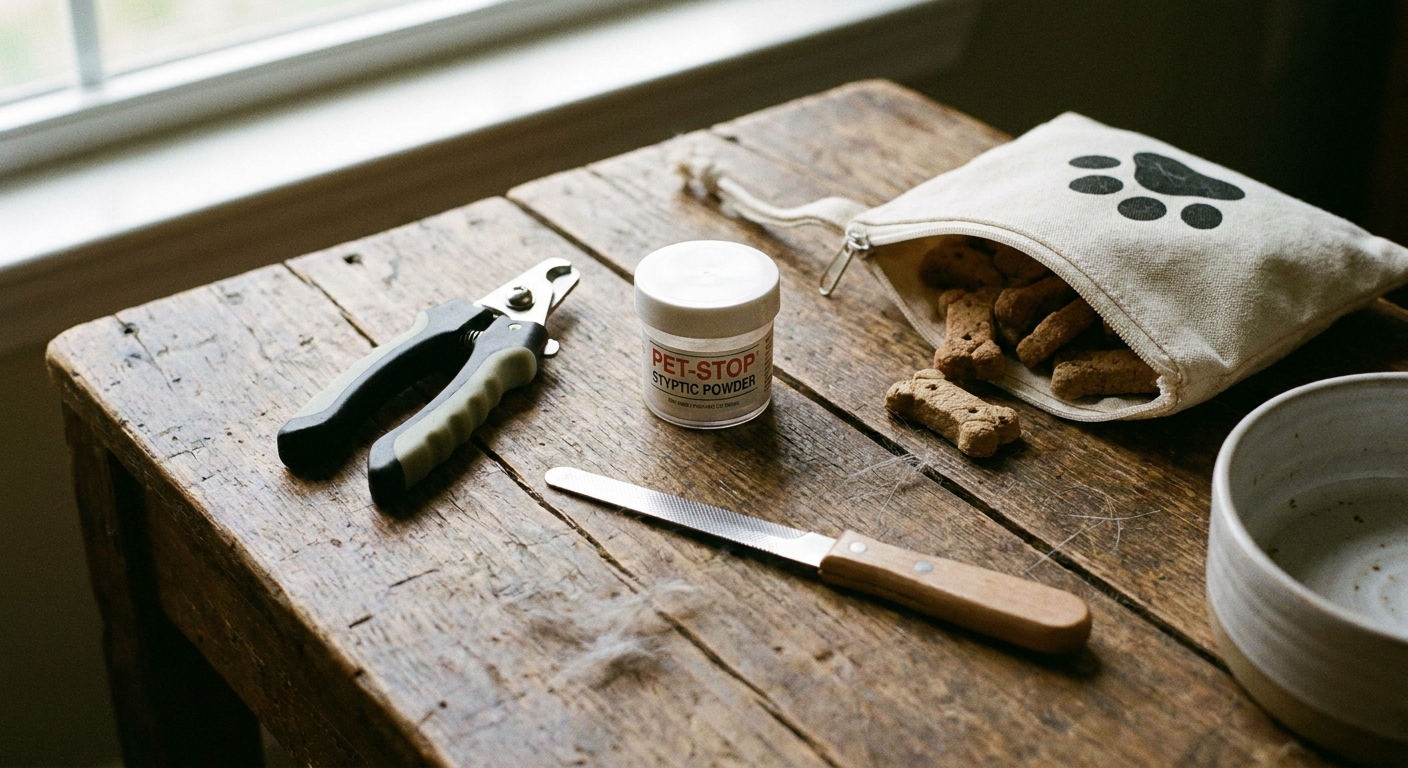
My go-to nail kit
- Puppy-size nail clippers (scissor-style or small guillotine-style) or a pet nail grinder.
- Styptic powder (or styptic pencil) for quick nicks.
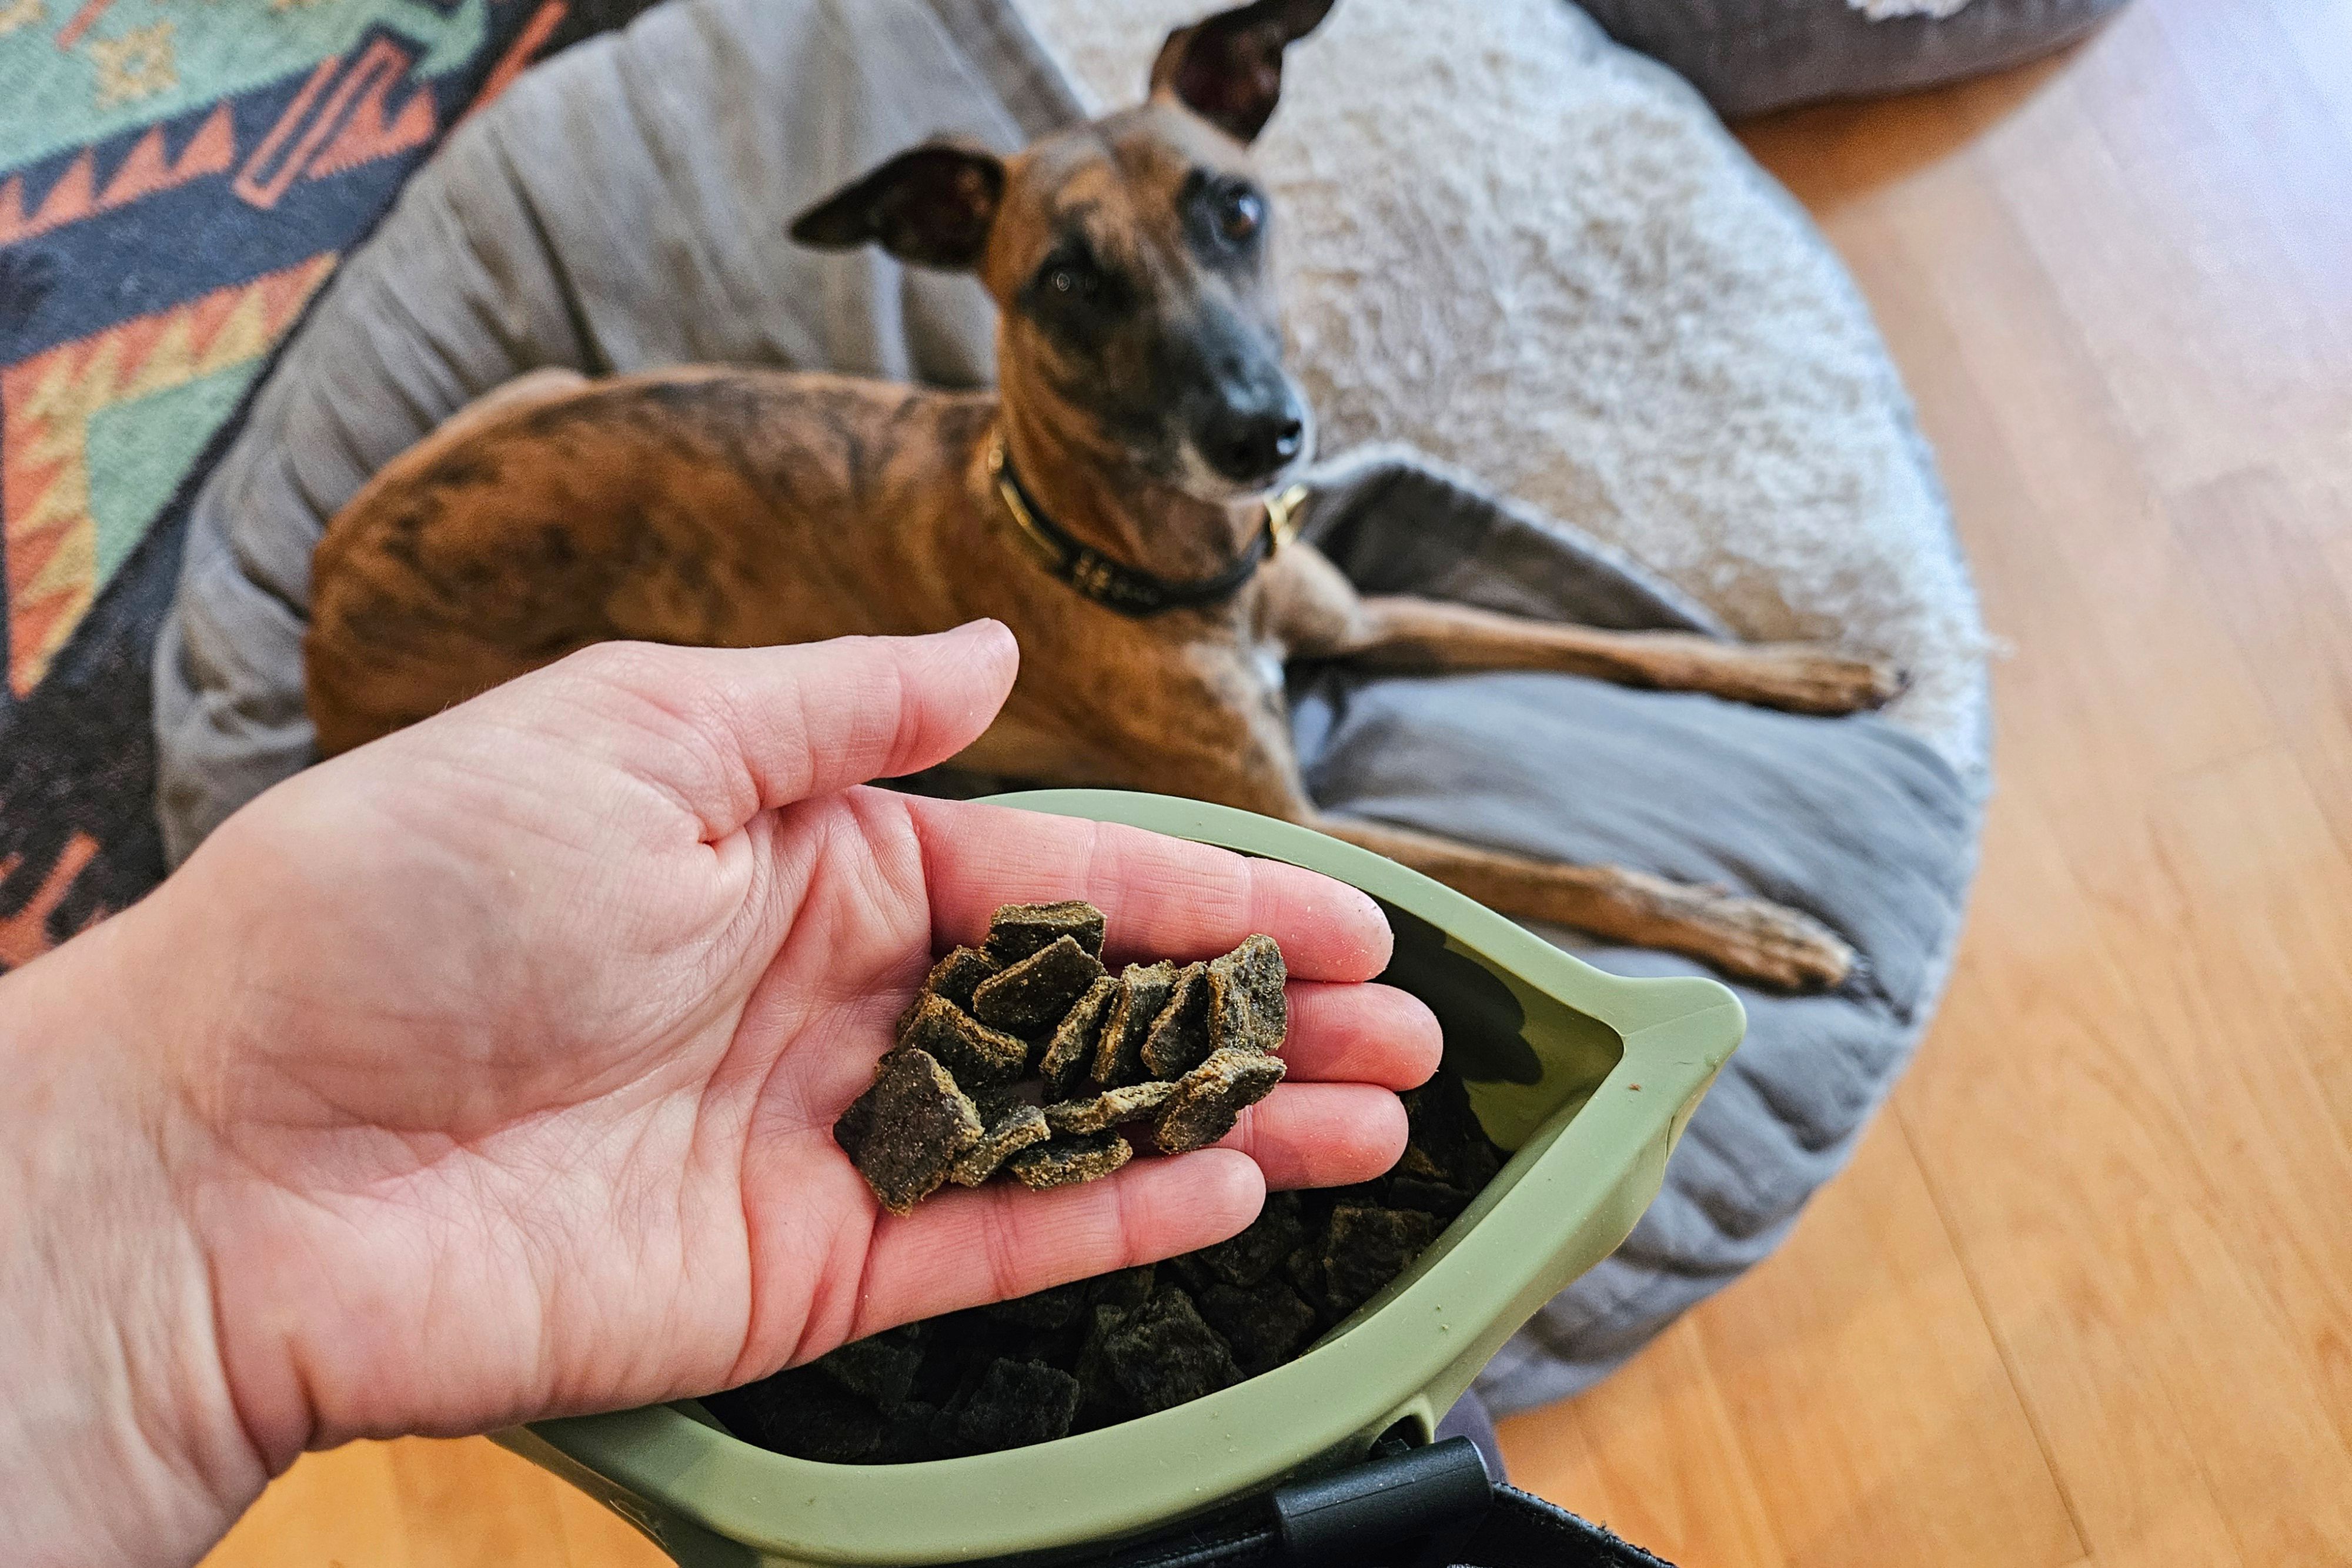
- High-value treats you can deliver fast: chicken, cheese bits, squeeze tube, or a spoon of peanut butter if it sits well with your pup. Use xylitol-free peanut butter only.
- Good lighting, especially for dark nails. A bright lamp you can aim at the paw helps.
- Non-slip surface: yoga mat, bath mat, or folded towel so your puppy feels stable.
Quick reminder: Check dewclaws. They often do not wear down naturally and can sneak up on you.
Clippers vs grinder
Clippers are quick and quiet, which many puppies prefer. Grinders can be easier for avoiding the quick because you remove tiny amounts, but the sound and vibration can be a deal-breaker at first.
If your puppy startles easily, start with clippers. If you have very dark nails or you are nervous about the quick, a grinder can be great once your puppy is comfortable with the noise.
Grinder safety: Use quick taps, not a long press in one spot, to avoid heat buildup. Keep fur, ear fringes, and loose skin away from the spinning tip.
Know the quick
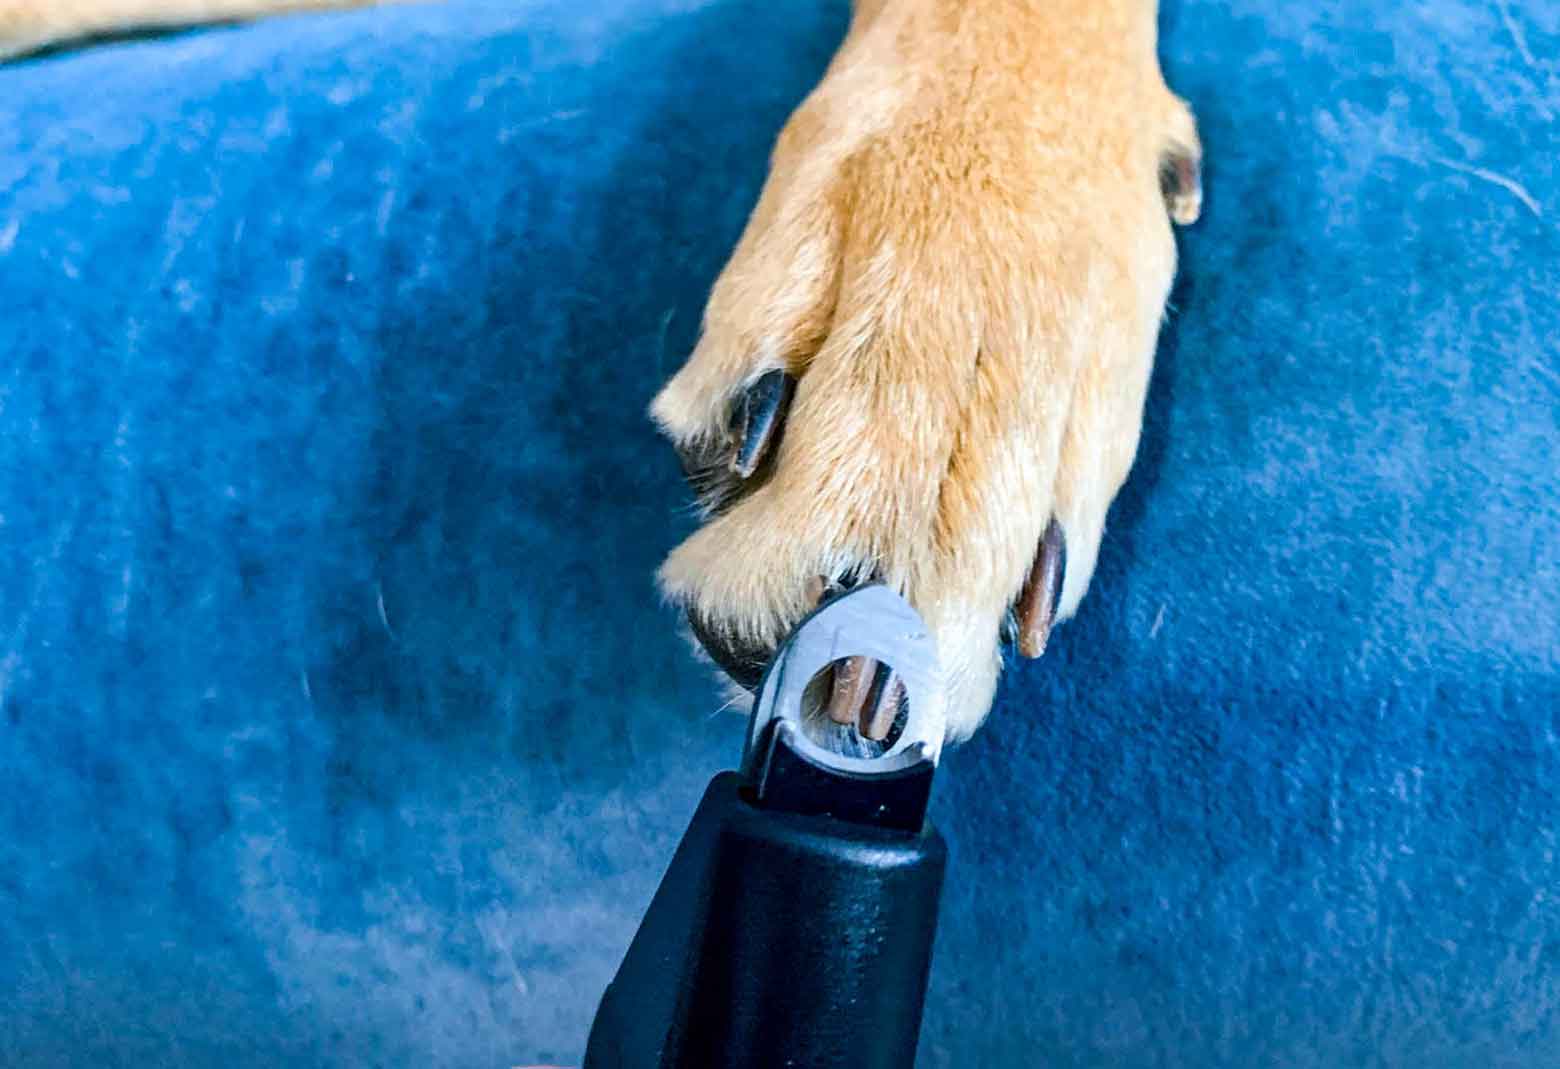
The quick is the living tissue inside the nail that contains blood vessels and nerves. Nick it and you will get pain plus bleeding, and your puppy will remember.
How to spot it
- Light nails: Look from the side. The quick usually looks like a pinkish tube inside the nail. Trim a little in front of it.
- Dark nails: You cannot see it well. Plan to trim in tiny slivers and stop early. If the cut surface starts to show a darker center that looks a bit softer or moist, that can mean you are getting close, but it is not foolproof. When in doubt, stop.
The safest rule
Trim less than you think you need. You can always take off another paper-thin slice. You cannot un-cut a quick.
Step-by-step desensitization
This is conditioning, not bribery. You are teaching your puppy: “Paw stuff predicts good things, and I can stay relaxed.”
Schedule: 1 to 3 minutes, once or twice a day. Stop while your puppy is still doing well.
Step 1: paw touch
- Sit with your puppy when they are calm, not in peak zoomies.
- Touch a shoulder or leg for one second, then treat.
- Move to a gentle touch on the paw, then treat.
- End the session. Yes, that fast.
Goal: Your puppy sees your hand coming and looks for a treat, not an escape route.
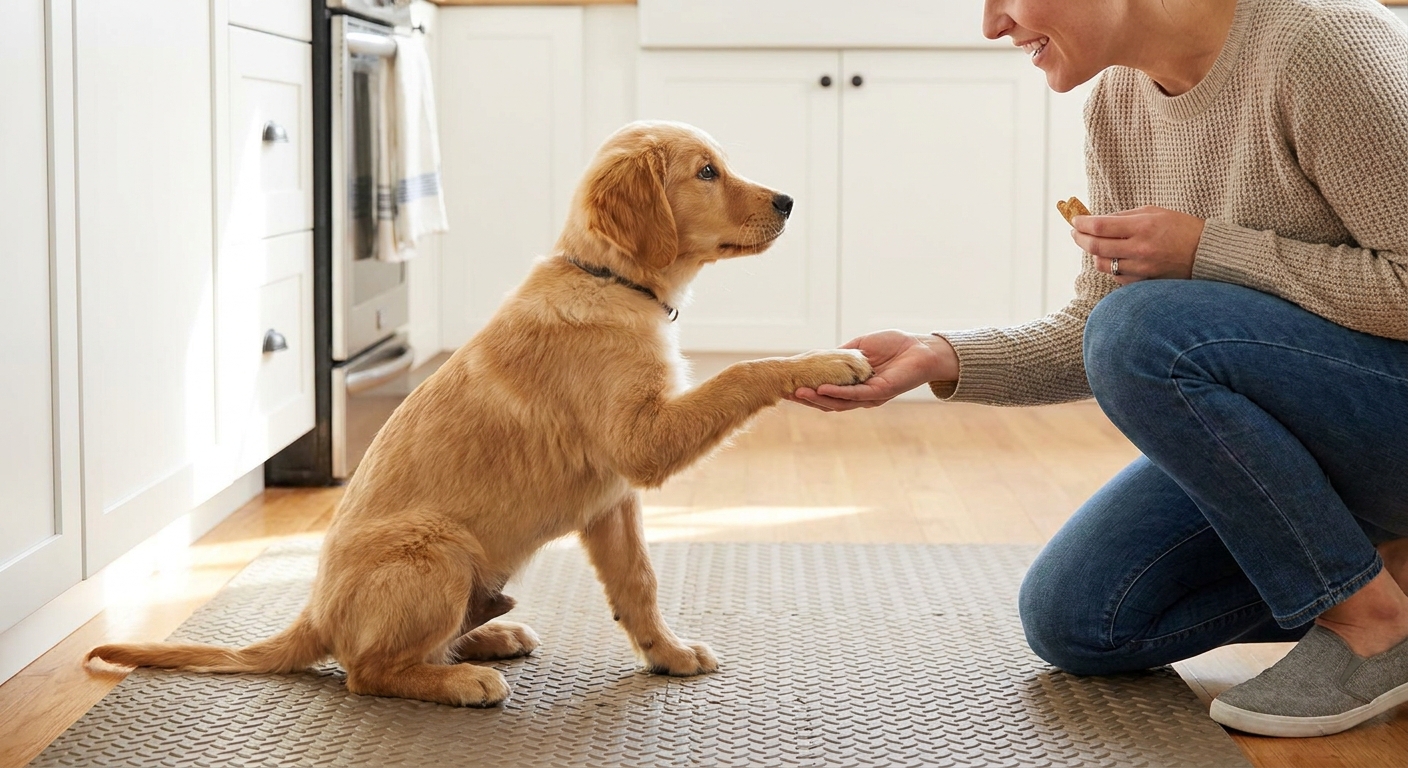
Step 2: paw hold
- Touch paw, treat.
- Briefly hold paw, treat.
- Say a consistent release word like “all done,” then let go.
Pro tip: Always release before your puppy yanks away. You are teaching, “Staying still makes the hand go away.”
Step 3: toe and nail handling
- Hold paw, treat.
- Use your fingers to gently separate one toe, treat.
- Tap one nail with your fingernail, treat.
If your puppy pulls back, you went too fast. Go back to the last step that felt easy and rebuild.
Step 4: introduce the tool
Let your puppy see the clippers or grinder. Treat. Put them away. Repeat.
- Touch the tool to the puppy’s shoulder, treat.
- Touch the tool to the leg, treat.
- Touch the tool to the paw (no cutting), treat.
Step 5: add the sound
For clippers: Make one clip sound away from the puppy, treat. Gradually clip closer over multiple sessions.
For grinders: Turn it on for one second at a distance, treat, then off. Slowly reduce distance over days, not minutes.
Step 6: first real trim
Your first goal is not a full set. Your first goal is a calm experience.
- Pick a time your puppy is relaxed, maybe after a walk or play.
- Hold paw, treat.
- Trim a tiny sliver off one nail.
- Give a jackpot reward.
- Release with “all done” and end the session.
Next session, do one or two nails. Build up slowly until a full paw is easy, then eventually all four paws.
How to clip safely
Best angle
Aim for small slices at about a 45 degree angle, following the nail’s natural curve. Avoid cutting flat straight across the nail, which can take off too much too fast.
How much to take off
- Start with 1 to 2 millimeters per snip, especially for dark nails.
- If nails are very long, plan a series of tiny trims over weeks to months. With frequent, conservative trims, the quick often recedes gradually, making future trims easier.
Pacing that prevents struggling
- One nail, treat. At least in the beginning.
- Take micro-breaks. Let your puppy stand up and shake it out.
- If your puppy is getting mouthy or squirmy, you are done for today.
Positioning
Many puppies panic when they feel trapped. I prefer setups that feel casual and safe.
Three low-stress positions
- Side snuggle: Puppy lies on their side next to you, like you are watching TV. Great for calm pups.
- Between-the-knees sit: You sit on the floor with puppy facing away from you between your legs. Gentle containment without pinning.
- Tabletop with traction: Small pups on a table with a non-slip mat, one hand supporting the chest. This can help your back and improve visibility.
If your puppy is flailing, stop and go back to desensitization. More pressure usually creates more panic.
If you hit the quick
Even careful people nick the quick sometimes. What matters is how you handle the moment.
Quick first aid
- Stay calm. Puppies read your voice and hands.
- Apply styptic powder to the bleeding nail. Press it on for 10 to 30 seconds.
- If you do not have styptic, cornstarch may help temporarily, but it is not as reliable.
- Keep your puppy quiet for a few minutes so the clot holds.
Safety note: Styptic products are for small nail bleeds. Keep them out of eyes and mouth, and do not use them on larger cuts.
Call your vet if bleeding does not slow within several minutes, if your puppy seems unusually painful, or if they have a known clotting disorder.
Protect your training
- Stop the session. Do not “finish the other nails.”
- For the next few days, go back to easy wins: paw touch, tool present, treat.
- When you resume trimming, do one nail only and be extra conservative.
How often to trim
Many puppies do best with trims about once a week at first, but it depends on growth rate, breed, and how much traction wear they get on different surfaces. Some pups can go 1 to 2 weeks between trims, especially if you are using a grinder for frequent touch-ups.
If you hear clicking on hard floors, it is time. Frequent tiny trims are safer than rare big trims. They also give the quick a chance to recede over time, which makes nail care easier for life.
Common problems
“My puppy bites the clippers or my hand.”
This is usually overstimulation or uncertainty. Give your puppy a job: a lick mat, a stuffed Kong, or a steady stream of tiny treats. If biting starts, your session is too long. End it and do shorter sessions.
“My puppy will not let me touch their paws at all.”
Start higher up the leg and pair with treats. One second of touch is enough. You are building trust, not winning a contest.
“My puppy screams, but I am not even clipping.”
Some puppies are dramatic. Some are genuinely sensitive. Either way, slow down and reduce restraint. Practice paw handling when sleepy, and keep sessions so short they feel silly.
“The nails are long and curved. I am scared to cut.”
Do a series of micro-trims weekly, or use a grinder once your puppy tolerates it. If the nails are curling toward the pads or your puppy is limping, schedule a vet or groomer visit for a safe reset.
When to call in a pro
There is no shame in outsourcing nail trims, especially during the puppy months when everything is new. A good groomer or vet team can help you avoid quick nicks and keep the experience neutral while you keep working on desensitization at home.
- Your puppy is panic-flailing or trying to bite during handling.
- You have very dark nails and cannot find a safe trim point.
- Your puppy has dewclaws that are curling or catching.
- You have hit the quick multiple times and both of you are stressed.
Mini routine for this week
If you want a simple plan, here is one I use with new fosters:
- Days 1 to 3: Paw touch and paw hold, 60 seconds, twice daily.
- Days 4 to 6: Add toe separation and nail tapping, 2 minutes daily.
- Day 7: Tool appears, treat. Tool touches paw, treat. If your puppy is relaxed, trim one nail only.
Keep it light. Keep it short. Nail trims are not a test of obedience. They are a trust exercise.
FAQ
Can I use human nail clippers on my puppy?
In a pinch, for tiny puppy nails, you can. But pet clippers are safer and give you better control and angles, especially as nails thicken.
Should I trim nails after a bath?
Sometimes nails are slightly softer after a bath, which can help. The bigger factor is your puppy’s mood. A calm puppy beats a freshly bathed, zoomy puppy every time.
What about scratching? My puppy’s nails hurt my skin.
Frequent small trims help. Also reinforce polite greetings and keep a soft throw nearby for lap time until nails are under control. You can also ask your groomer for a gentle nail file finish.
Do walks on pavement file nails down enough?
Sometimes the front nails wear down, but dewclaws and many rear nails still need trimming. Pavement can also create uneven wear, so check nails regularly even if you walk daily.