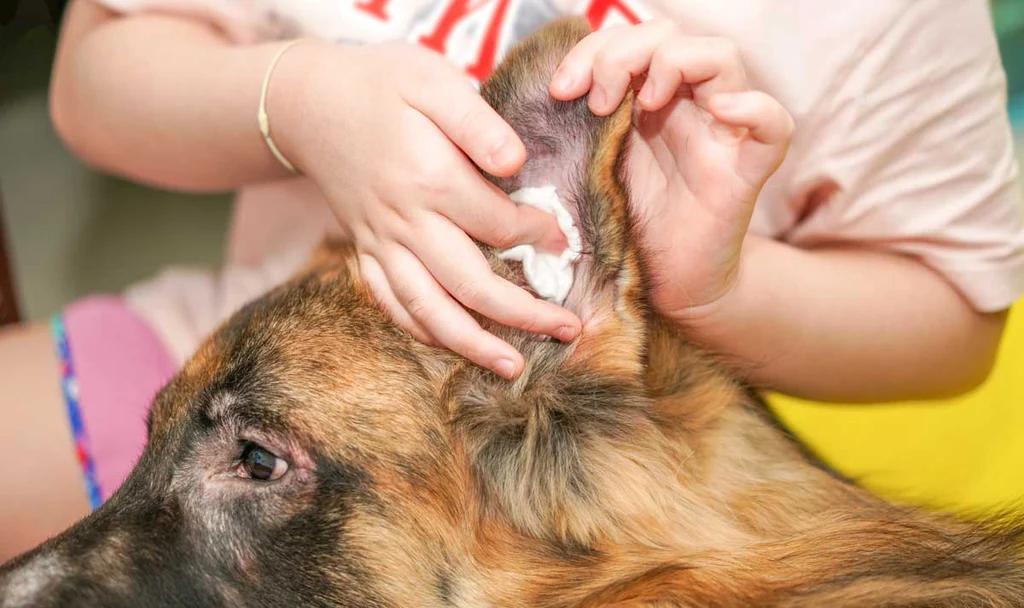
Puppy ears are basically adorable little dirt funnels. Between floppy ear flaps, zoomies through tall grass, bath splashes, and the occasional face-first dive into a water bowl, it does not take much for a puppy’s ears to get funky.
The good news: many ear problems are easier to prevent than to treat, especially when you catch irritation early. The even better news: you do not need to be a grooming pro to keep your pup’s ears healthy. You just need a calm routine, the right supplies, and a clear idea of what “normal” looks and smells like.
What healthy puppy ears look like
Before we talk cleaning, let’s set a baseline. Healthy ears are usually:
- Light pink inside (not angry red)
- Clean to lightly waxy (a little wax is normal)
- Low-odor (they should not smell yeasty, sour, or “like a corn chip factory”)
- Comfortable (your puppy does not flinch, yelp, or whip their head away when you touch the ear gently)
Wax color can vary. Light tan to brown can be totally normal, especially if your puppy naturally makes more wax. What is more concerning is a sudden change, a big increase in gunk, coffee-ground-looking debris, or a new smell.
Some puppies make more wax than others, and dogs with ears that trap airflow can hold more moisture. That does not mean trouble is guaranteed. It just means you will want to check more often.
How often should you clean a puppy’s ears?
Most puppies do best with ear checks weekly and cleaning only when needed. Over-cleaning can irritate the ear canal and stir up problems you did not have in the first place.
A simple rule that works
- Clean if you see visible debris, your puppy smells a little musty around the ears, or they recently swam or had a bath and may have trapped moisture.
- Skip cleaning if everything looks and smells normal and your puppy is not scratching or shaking.
Puppies who may need more checks
- Floppy-eared pups (Cocker Spaniels, Basset Hounds, many doodles)
- Hairy ear canals (Poodles, Schnauzers, some mixes)
- Allergy-prone pups (recurring itchiness, paw licking, seasonal flare-ups)
- Swimmers and frequent bath-takers
Supplies: what you need and what to avoid
What to use
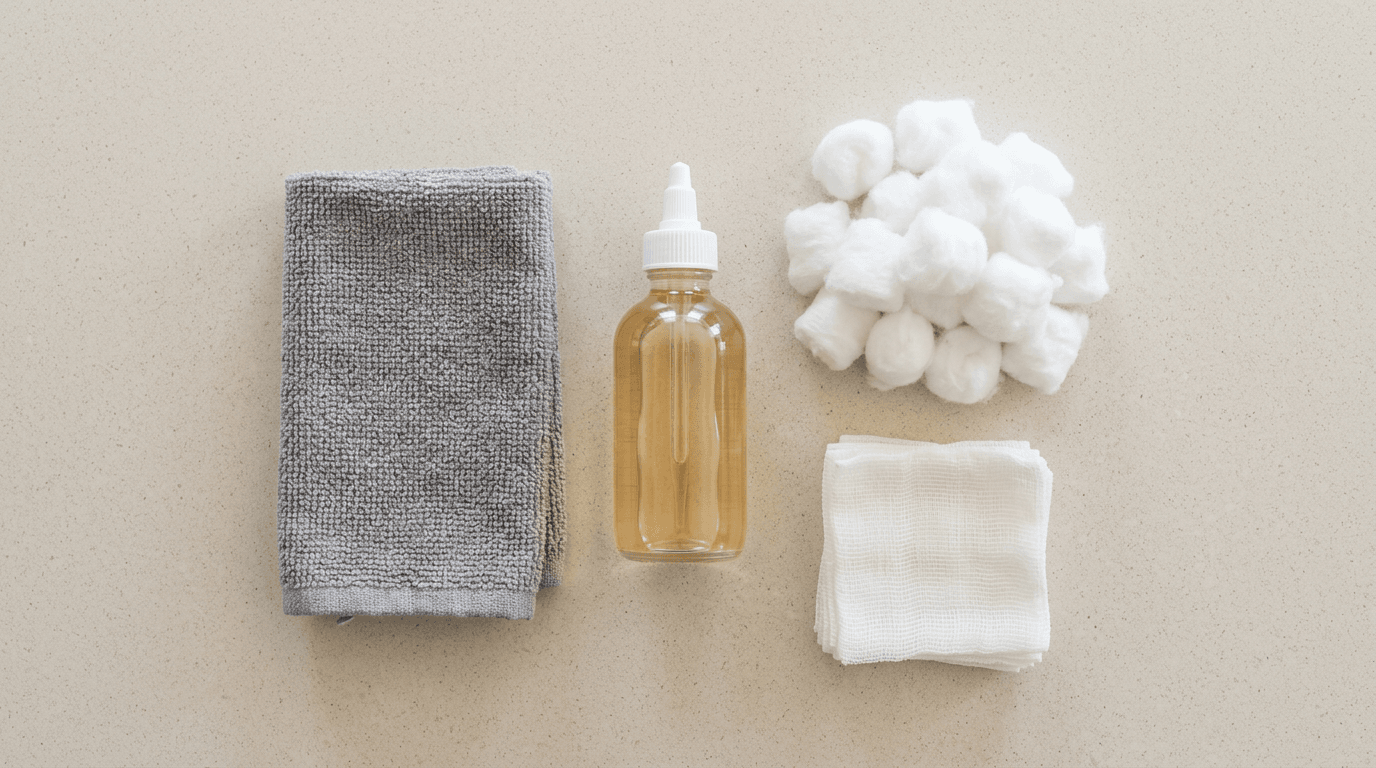
- Vet-approved dog ear cleaner (a liquid designed for canine ears)
- Cotton balls or gauze squares
- Towel (trust me)
- Treats for a calm, happy routine
What to avoid
- Cotton swabs (they can push debris deeper and risk injury)
- Hydrogen peroxide (often too harsh and irritating)
- Rubbing alcohol (stings, dries the skin, and can inflame irritated ears)
- Homemade vinegar mixes on puppies unless your vet specifically okays it (it can sting if the ear is inflamed or has tiny scratches)
- Essential oils (too risky for sensitive ear tissue)
How to clean your puppy’s ears safely
If your puppy is wiggly, start when they are a little tired. Post-walk is perfect. And pick a location that can survive a head-shake tornado.
Two safety rules: Never use Q-tips in the ear canal. And do not pour anything into an ear if you suspect a ruptured ear drum or your puppy has severe pain, head tilt, or balance issues. Call your vet.
Step 1: Look and sniff
Lift the ear flap and look for redness, swelling, discharge, or a strong odor. If you see anything that screams “infection,” skip to the section on when to call the vet.
Step 2: Get into position
Sit on the floor with your puppy between your legs or beside you. Keep your voice calm, offer a treat, and do not rush.
Step 3: Apply ear cleaner
Gently hold the ear flap up and squeeze the cleaner into the ear canal per the bottle directions. Aim the tip just at the opening and do not insert the nozzle deep into the canal. You are not trying to drown your puppy, but you do want enough cleaner to loosen wax and debris.
Step 4: Massage the base
Massage where the ear meets the head for about 15 to 30 seconds. You may hear a squishy sound. That is normal and honestly a little satisfying because it means the cleaner is working.
Step 5: Let them shake
Back up slightly and let your puppy shake their head. This helps bring debris up and out. This is also why you laid down a towel.
Step 6: Wipe the visible part
Use a cotton ball or gauze to wipe the outer ear and the visible folds of the ear flap (the pinna). Do not push down into the canal and do not “dig” for wax.
Step 7: Reward and move on
Finish with praise and a treat. The goal is: ear cleaning becomes a boring little spa moment, not a wrestling match.
Signs your puppy’s ears need attention
Puppies rarely come up and announce, “Hello, my ears are inflamed.” They show you in a handful of very specific ways.
Early warning signs
- Head shaking more than usual
- Scratching at one or both ears
- Rubbing ears on carpet or furniture
- Pink or mildly red skin inside the ear
- New odor (yeasty, musty, sour)
- More wax or darker debris than normal, especially if it is a sudden change
Call the vet signs
- Strong pain when touched, yelping, or suddenly refusing ear handling
- Swelling, heat, or intense redness
- Thick discharge (yellow, green, gray) or pus
- Bleeding or scabs inside the ear
- Head tilt, loss of balance, or walking a little wobbly
- Symptoms that return quickly after cleaning
Ear infections can worsen fast, and the wrong at-home approach can make them harder to treat. If your gut says “this is not normal,” trust it and call your vet.
Mites vs yeast vs infection
Only your vet can diagnose for sure, but these clues can help you decide how urgent it is and what questions to ask. Also, mixed infections happen. A puppy can have yeast and bacteria at the same time, which is one reason guessing is so frustrating.
Ear mites
- Debris: dark brown to black, often looks like coffee grounds
- Itch level: very itchy, lots of scratching and head shaking
- Spread: can move between pets (cats and dogs)
- What to do: vet visit for confirmation and prescription treatment, treat all exposed pets if your vet recommends it
Yeast overgrowth
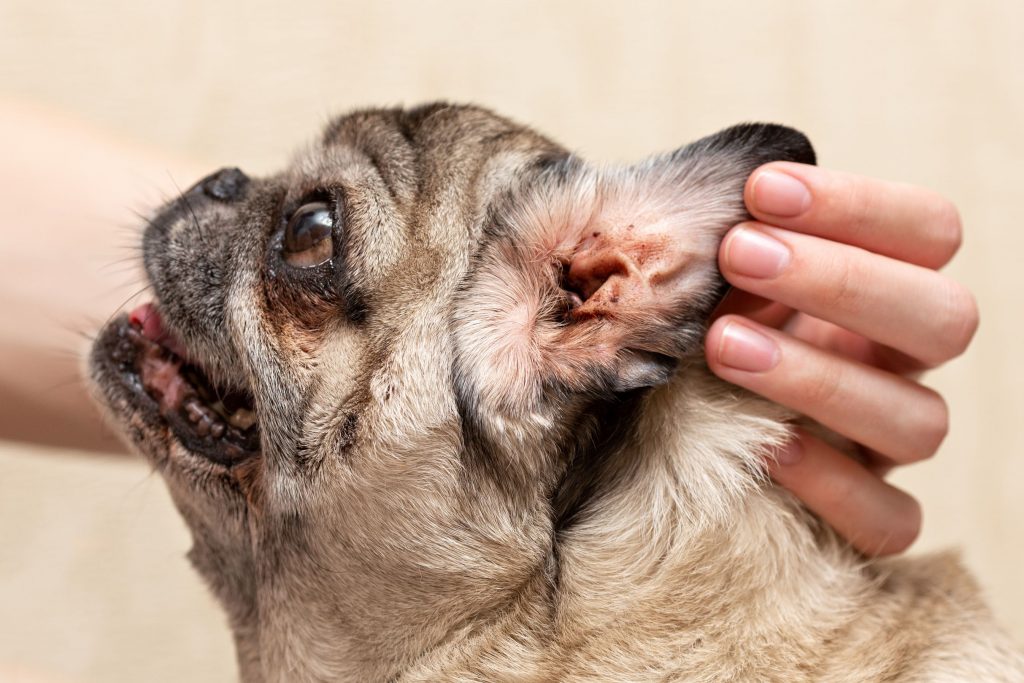
- Smell: strong yeasty or sweet-musty odor
- Appearance: red, irritated skin, brown waxy buildup
- What to do: vet exam recommended, especially for puppies, because yeast can look similar to bacterial infections and may need specific medication
Bacterial ear infection
- Discharge: yellow, green, creamy, or wet
- Comfort: often painful, pup may cry or pull away
- What to do: vet visit promptly. Your vet may take a sample from the ear to choose the right treatment.
Allergies
- Pattern: recurring ear gunk, redness, itchiness, often paired with paw licking or skin issues
- What to do: talk with your vet about long-term prevention and whether diet or environmental triggers are likely
When not to clean at home
I love a good DIY moment. Ear infections are not it. Skip at-home cleaning and call your vet if:
- Your puppy seems in pain or is guarding the ear
- You see significant swelling, bleeding, or open sores
- There is thick discharge or a strong, sudden odor
- Your puppy has a head tilt or balance issues
- You suspect something is stuck in the ear (foxtails and seeds are sneaky)
- Your puppy recently had ear surgery or has a known ear drum issue
Cleaning an already-infected ear can push debris deeper or make inflammation worse. Let your vet guide treatment first. Then you can get back to preventative care.
Make ear cleaning easier
Start with touch training
For a few days, practice gently touching the ear flap, lifting it for one second, then treat. Build up slowly until your puppy is relaxed with longer handling.
Use calm timing
Do ear care after a walk, training session, or meal. A tired puppy makes better choices. So do we.
Try a lick mat
Smear a little dog-safe peanut butter or canned food on a lick mat and stick it to the fridge. Many puppies will tolerate ear wiping while they are happily occupied.
Keep it short
You do not need perfection. A quick clean plus a positive experience beats a long struggle that turns ear care into a lifetime drama.
Preventing ear problems
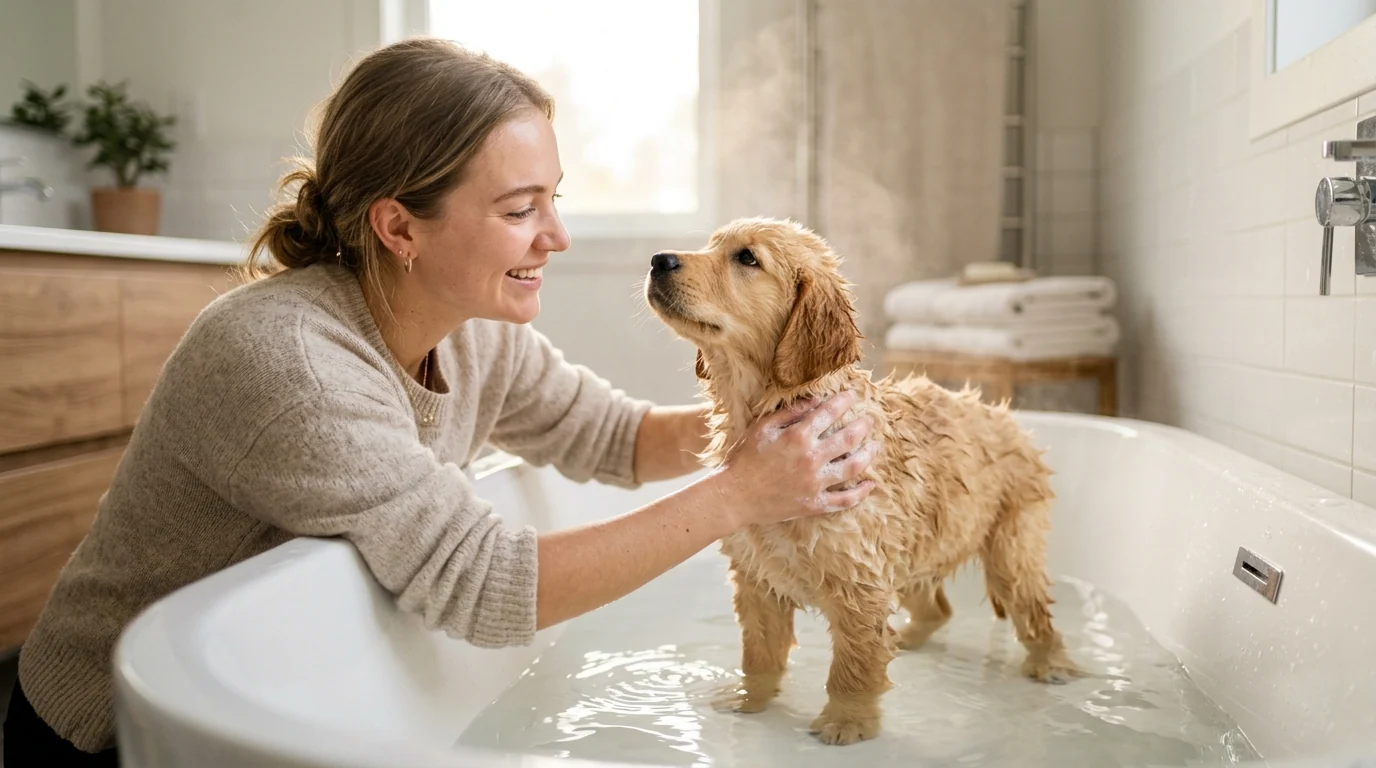
- Dry ears after baths and swims: let your puppy shake, then wipe the outer ear and the ear flap. Avoid pushing towels or cotton down into the canal.
- Weekly checks: look, sniff, reward.
- Grooming awareness: if your puppy grows hair inside the ear canal, ask your vet or groomer what is appropriate for your dog. Do not pluck hair yourself unless a professional recommends it for your pup’s situation.
- Address allergies early: recurring ear issues often have an underlying trigger.
- Keep flea and mite prevention current: use what your vet recommends for your puppy’s age and weight.
- Choose the right cleaner: some ear cleaners include drying agents, which can be helpful for frequent swimmers but not ideal for every dog. When in doubt, use what your vet recommends.
Quick FAQ
Can I use baby wipes to clean my puppy’s ears?
I would not. Baby wipes are made for skin, not the ear canal, and they can leave residue that irritates sensitive tissue. Use a dog ear cleaner and gauze or cotton balls for wiping the parts you can see.
What if my puppy hates ear cleaning?
Back up and go slower. Do a week of tiny “ear touch = treat” reps, then reintroduce the cleaner. If your puppy is suddenly reactive to ear handling, call your vet. Pain changes behavior fast.
Should a puppy’s ears smell?
Healthy ears should have little to no smell. A noticeable yeasty, sour, or musty odor usually means it is time for a closer look and often a vet check.
My puppy has dark wax. Is that always mites?
Not always. Dark wax can be normal for some dogs. Coffee-ground debris plus intense itching is a classic mites clue. Because mites are contagious and uncomfortable, it is worth getting checked.
A final word
Ear care is one of those tiny habits that pays off big. A quick weekly check helps you catch issues early, and a calm cleaning routine turns what could be stressful into just another normal part of life with a puppy.
If you are unsure whether you are seeing “normal puppy gunk” or the start of an infection, take a clear photo, note what you are smelling and seeing, and call your vet. You are not overreacting. You are being the kind of puppy parent your dog can count on.